Manage Tags

OCI tags enable you to tag your OCI resources, such as your instance, and help you organize resources based on your business needs. You can manage tags from the Instance Details page.

If you're new to OCI tags, see Tagging Overview.

Action How To
Add a tag
  1. On the Instance Details page, click Add Tags in the More Actions menu.
  2. In the Add One Or More Tags To This Resource dialog box, enter the tag's namespace, key, and value.
  3. Click Add Tags.
Edit a tag
  1. On the Instance Details page, click the Tags tab.
  2. To edit a tag, click its Edit Pencil icon.
  3. In the Edit Tag dialog box, edit the tag and click Save.
Remove a tag
  1. On the Instance Details page, click the Tags tab.
  2. To edit a tag, click its Edit Pencil icon.
  3. In the Edit Tag dialog box, click Remove Tag.

You can see the Add Tags item in the More Actions menu in this image.
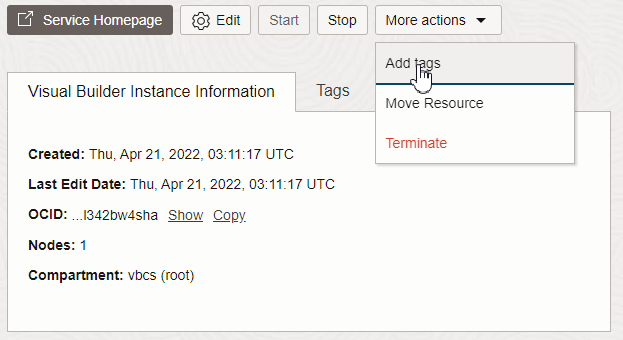

Description of admin-instancedetails-addtags.png follows