Create your own VB Studio instance if you're using VB Studio to manage a large software development project that uses Oracle Cloud Infrastructure (OCI) cloud services, and doesn't involve the extension of Oracle Cloud Applications.
Note
If you're using VB Studio just to configure and extend Oracle Cloud Applications, skip this. Instead, you'll use the VB Studio instances that Oracle provisions for you. You can also skip this if you're going to create visual applications using one of the VB Studio instances provisioned with your Oracle Cloud Applications account. See
Work With Multiple VB Studio Instances.
Note that when you sign up for Oracle Cloud Infrastructure, a set of service limits is configured for your tenancy (account), which is the quota set for a given resource. The VB Studio service limit provides one VB Studio instance per region that your tenancy spans. If your tenancy spans multiple regions, each region can have one VB Studio instance. This is on top of any VB Studio instance that Oracle provisions for you as an Oracle Cloud Applications customer.
- In a web browser, go to
https://cloud.oracle.com.
To view the list of supported browsers for the Oracle Cloud Console, also called the OCI console, see Supported Browsers.
- In Cloud Account Name, enter your Oracle Cloud account or tenancy name and click Next.
- On the Single Sign-On (SSO) panel, if required, select your identity domain and click Continue.
Note
You'll be creating a VB Studio instance in the identity domain you're logged into; there is no mechanism to request a different domain. As long as you have the proper user credentials, you should be able to create the instance in any domain you wish. All users who wish to access the new VB Studio instance must be in its same domain.
- Enter your Oracle Cloud account credentials and click Sign In.
If you've recently created your Oracle Cloud account, wait for some time to see your services in the Oracle Cloud Console.
- In the upper-left corner, click Navigation Menu
 .
.
- Select Developer Services and then select Visual Builder Studio.
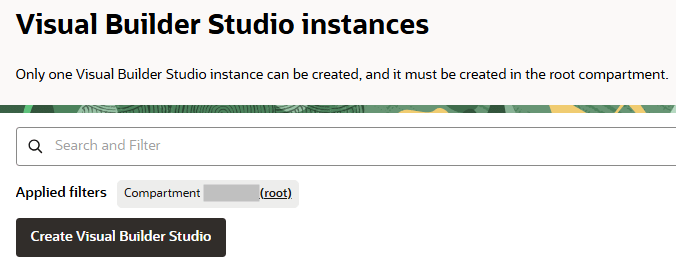
- On the Visual Builder Studio instances page, click Create Visual Builder Studio.
The Create Visual Builder Studio instance page is displayed.
- In Instance name, enter the VB Studio's instance name.
- The Compartment field is read-only and always displays the root compartment.
- (Optional) Add one or more tags to this resource.
Default tags, which help you identify the instance, always get created.
If you aren't sure whether to add tags, skip this option. You can always add tags later. For more information about tagging resources, see Resource Tags.
- In the Tags section, click Add tag.
- Select the Tag namespace, or select None to apply a free-form tag.
- Select or enter the Tag key.
- In Tag value, select or enter a value.
- To apply another tag, click Add tag.
- Click Next.
- On the CI/CD setup page, the Yes, I authorize this checkbox is selected by default.
This authorizes VB Studio to create and use Compute and Storage instances, and automatically creates a policy that authorizes VB Studio to perform the necessary operations in the selected compartment for the CI/CD resources. It also creates a policy authorizing VB Studio to access Oracle Visual Builder and Oracle Integration instances connected to your OCI paid account. For this automatic policy creation to succeed, the user who creates the instance must also have permissions to manage policies in the root compartment. See Get the Right Roles.
Typically, tenancy administrators have these permissions, so the easiest way to create a VB Studio instance is to have a tenancy administrator do it. However, if that isn't feasible, it's also possible to create the VB Studio instance without the CI/CD authorization and then set it up later.
- If you keep the default "selected" setting of the Yes, I authorize this checkbox, in Compartment, select the compartment to host VB Studio's Compute and Storage instances.
The required policies will be applied to the selected compartment.
- (Optional) Click Save as stack to create a stack in Resource Manager.
- Click Create Visual Builder Studio.
Once the service instance is created, click the instance's link to view its detail page. From here, you can click
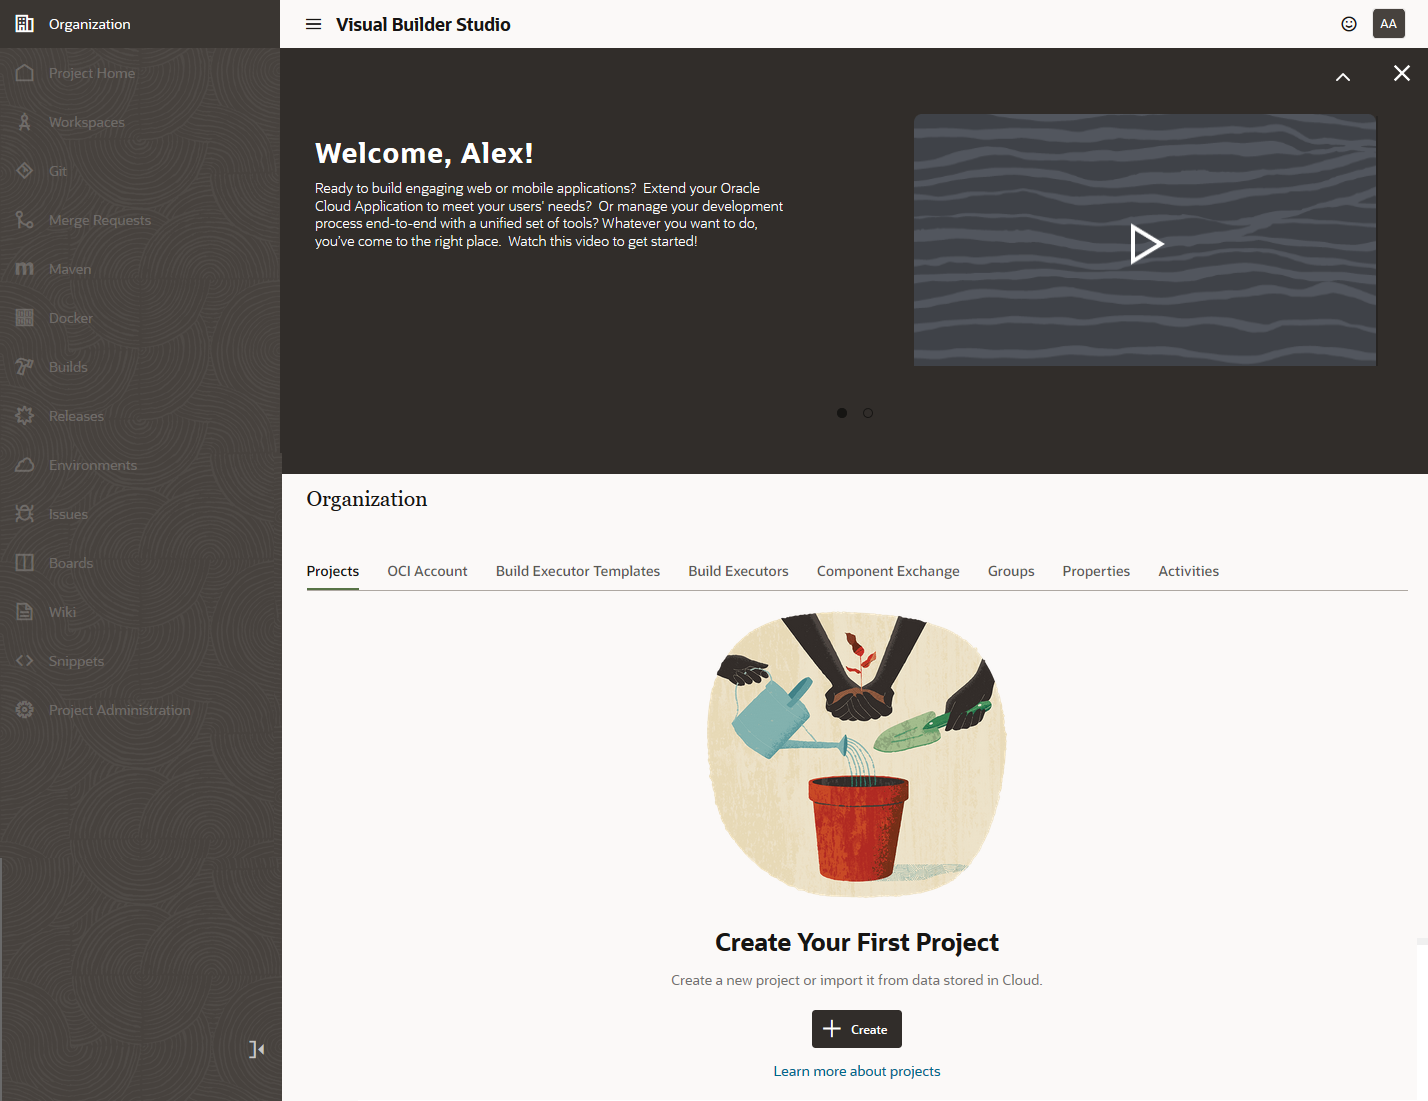
Service console to open VB Studio's Organization page.
What are the next steps?
After you create the instance:
- You're assigned the DEVELOPER_ADMINISTRATOR IDCS role, which enables you to set up VB Studio, manage the VM build executors, and update the organization details. After you're assigned the role, you become a VB Studio Organization Administrator.
- You'll receive an email with the subject Verify your Oracle Visual Builder Studio email. Open the email and click the URL link in the email body to verify your email. If you don't do this, you won't receive important email notifications.
- After verifying the email address, you’ll receive another email with the subject Welcome to Oracle Visual Builder Studio. This email contains the VB Studio URL that you can bookmark.
- Set up VB Studio's build system for CI/CD, which enables your organization's developers to create jobs to build, package, test, and deploy their apps. See Set Up VB Studio for CI/CD.
- As part of that CI/CD setup, you must provide access for additional VB Studio users. See Step 5: Set Up Users and Groups to add individual users or Manage Your Organization's Groups to add groups of users.
- If you created a VB Studio instance so that your users can develop visual applications and deploy them to Visual Builder runtime instances, see Set Up VB Studio for Developing Visual Applications.
Note
If your users are using the free VM account to develop and deploy visual applications, make sure the VB Studio instance is authorized to access Visual Builder instances connected to your OCI account. Without this authorization, they won't be able to create environments with a Visual Builder instance to deploy their visual applications. See
Authorize VB Studio to Access Visual Builder and Integration Instances for the steps to complete this authorization.
If you need to make any changes to your OCI account, you can use the Edit button on the Organization page's OCI Account tab to get to the Oracle Cloud Console:

Description of the illustration editociacct.png


