Load Data from Local Files with Oracle Database Actions
Using Oracle Database Actions, from the Worksheet page, you can load data from local files into an existing table.
- Load Data into Existing Autonomous AI Database Table with Oracle Database Actions
You can load data into an existing table in Autonomous AI Database with the Database Actions import from file feature.
Parent topic: Load Data into Autonomous AI Database
Load Data into Existing Autonomous AI Database Table with Oracle Database Actions
You can load data into an existing table in Autonomous AI Database with the Database Actions import from file feature.
Before you load data, create the table in Autonomous AI Database. The file formats that you can upload with the Database Actions upload feature are CSV, XLS, XLSX, TSV and TXT.
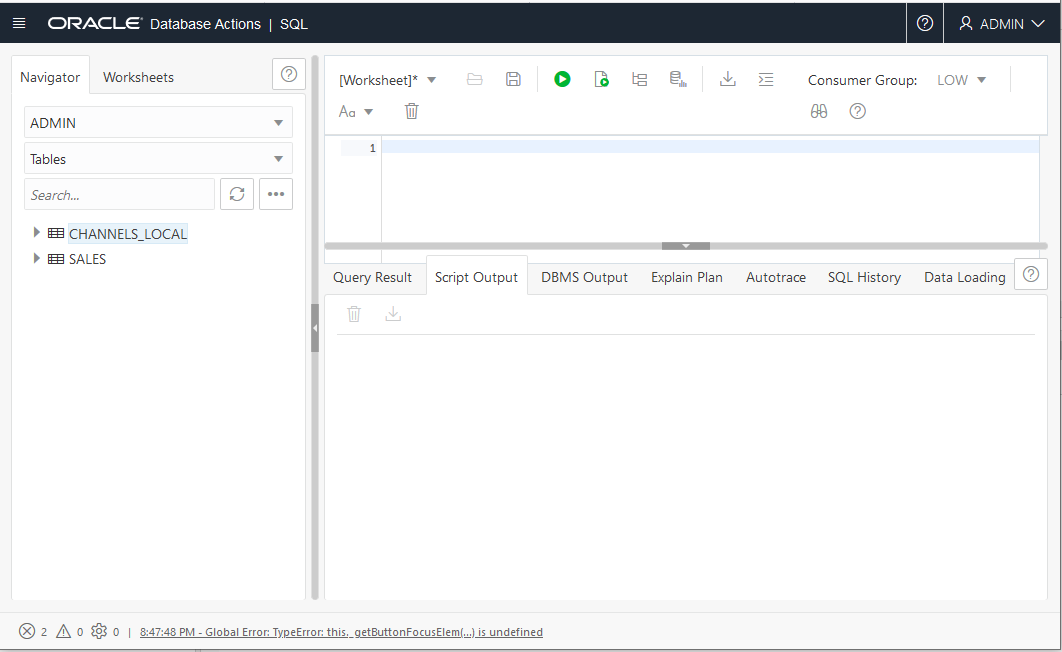
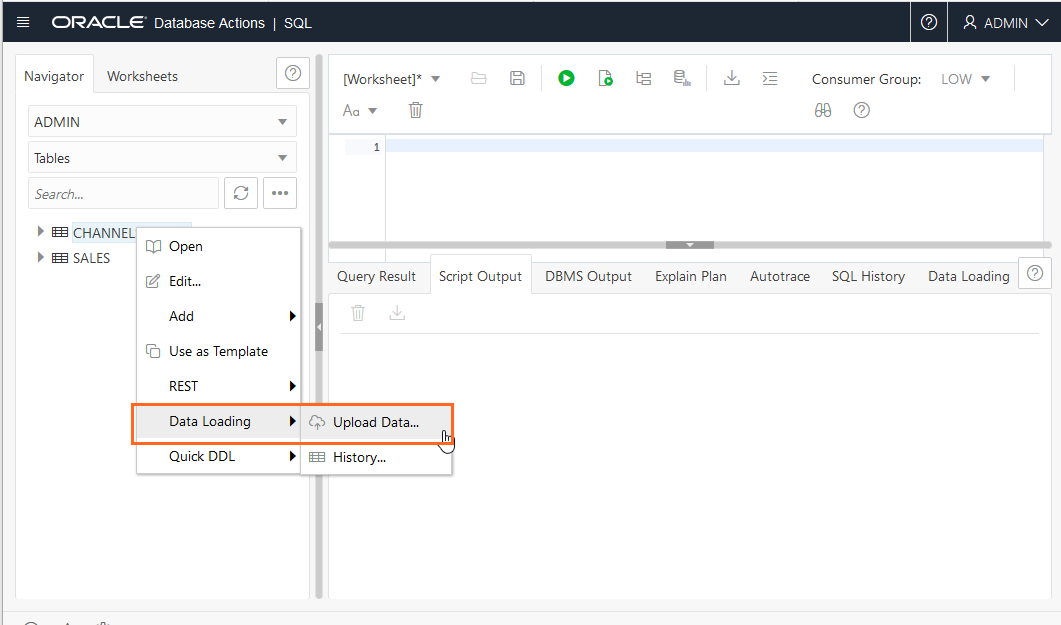
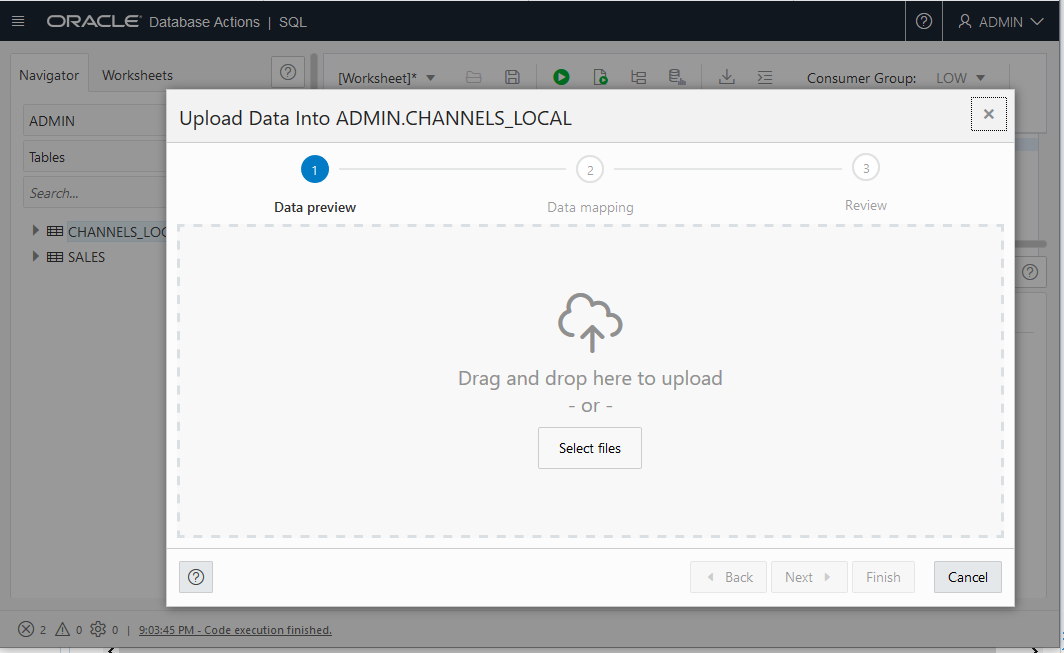
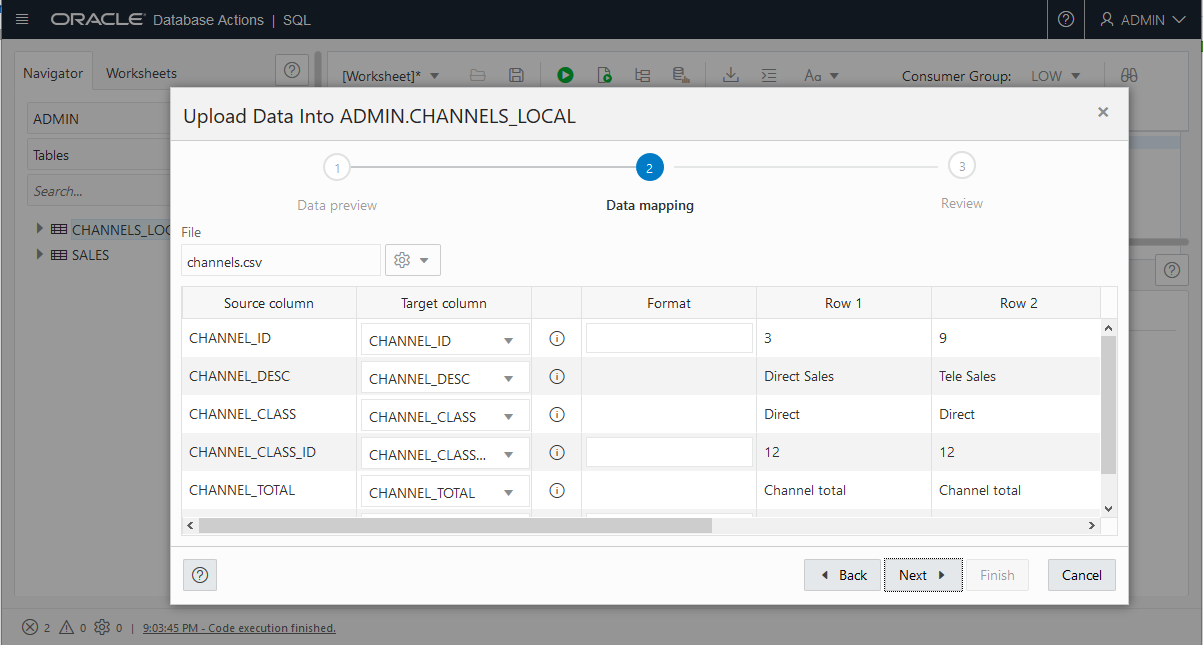
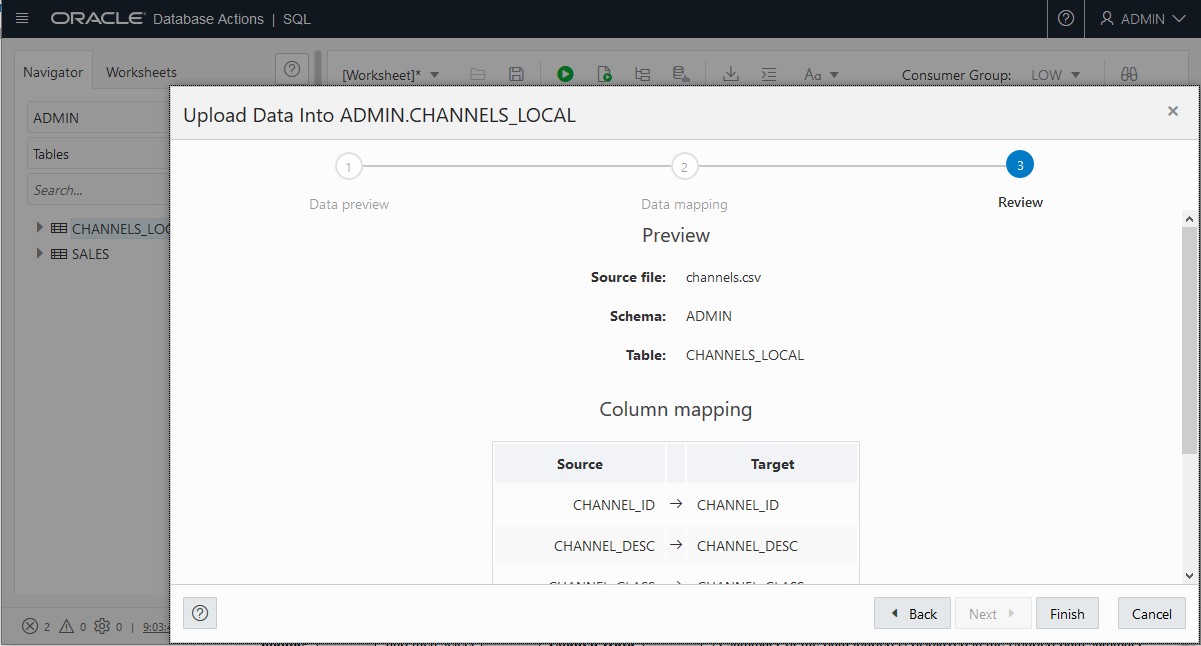
To upload data from local files to an existing table with Database Actions, do the following:
Database Actions provides history to show the status of the import and to allow you to review the results or errors associated with the import operation.
For a detailed summary of the upload process, right-click the table in the Navigator tab, select Data loading, and then select Loaded Data. A summary of the data loaded is displayed in the Loaded data summary dialog.
If any data failed to load, you can view the number of rows in the Failed Rows column. Click the column and a dialog is displayed showing the failed rows.
In the Loaded data summary dialog, you can also search for files loaded by schema name, table name, or file name. To remove the loaded files, click the Delete icon.
See Uploading Data from Local Files for more information on using Database Actions to upload data.
Parent topic: Load Data from Local Files with Oracle Database Actions
