Task 3: Create a Subnet
A subnet is a subdivision of your VCN. The subnet directs traffic according to a route table.
For this tutorial, you'll access the instance over the internet using its public IP address, so your route table directs traffic to an internet gateway. The subnet also uses a security list to control traffic in and out of the instance.
Avoid entering confidential information in names and tags.
Return to the Virtual Cloud Networks page.
A quick way to do this is to select the name of page in the breadcrumb that's at the top of the page. For example:
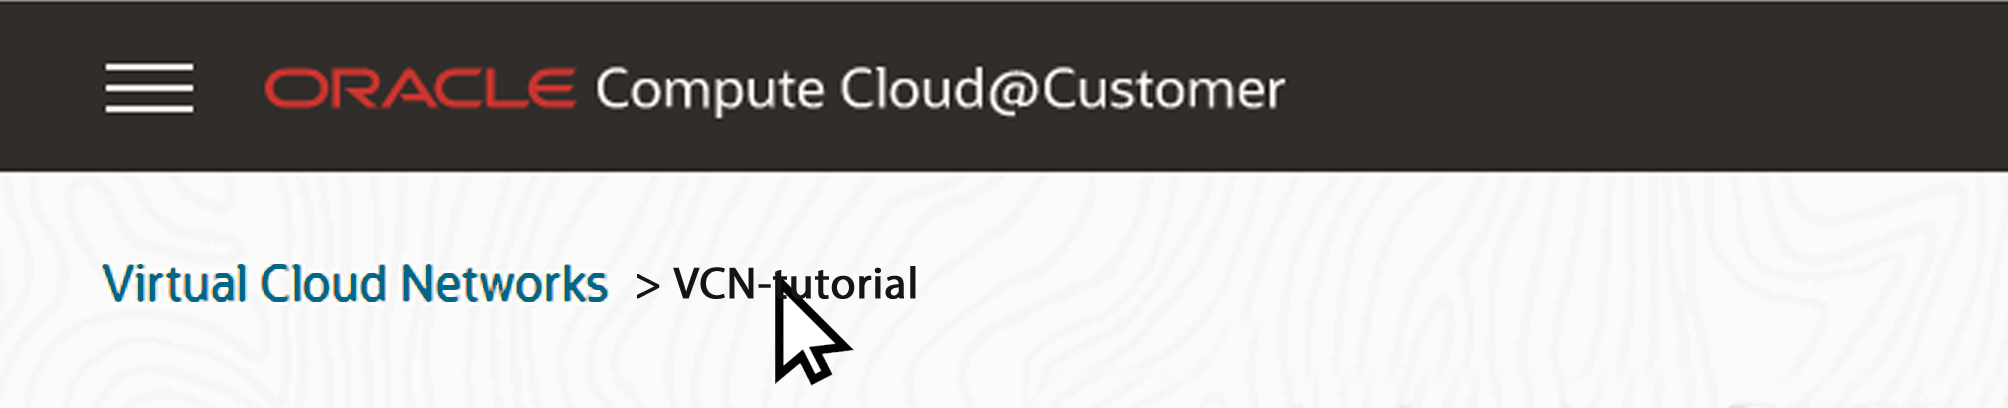
If the VCN details page isn't in your breadcrumb, in the navigation menu, select Networking, Virtual Cloud Networks, then select the name of your VCN.
-
Scroll down to the Resources panel, select Subnets, and select Create Subnet.
-
In the Create Subnet dialog box, enter the following information:
-
Name: Enter a descriptive name for your subnet.
-
Create in Compartment: Select the Sandbox compartment.
-
CIDR Block: Enter a valid CIDR block for the subnet. The value must be within the VCN CIDR block. For example, 10.0.0.0/24.
-
Route Table: For this tutorial, select the default route table.
-
Subnet Access: For this tutorial, select Public Subnet to allow public IP addresses for instances in the subnet.
-
Use DNS Hostnames in this Subnet: For this tutorial, leave this unselected.
-
DHCP Options: Leave this unselected.
-
Security Lists: Select Add Security List and select the default security list.
-
Tagging: Leave blank. This tutorial does not use tags.
-
-
Select Create Subnet.
Perform the next task:
Task 4: Create an Internet Gateway and Configure Route Rules