Restore and Recover your Autonomous AI Database
From the Oracle Cloud Infrastructure Console you can restore the database using the Restore operation, where you initiate recovery for your database.
Perform the following prerequisite steps as necessary:
-
Open the Oracle Cloud Infrastructure Console by clicking the
 next to Cloud.
- From the Oracle Cloud Infrastructure left navigation menu click Oracle Database and then click Autonomous AI Database.
-
On the Autonomous AI Databases page select an Autonomous AI Database from the links under the Display name column.
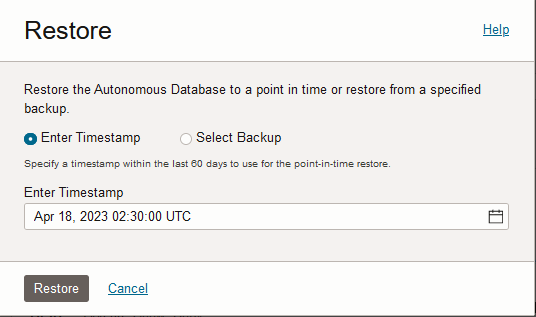
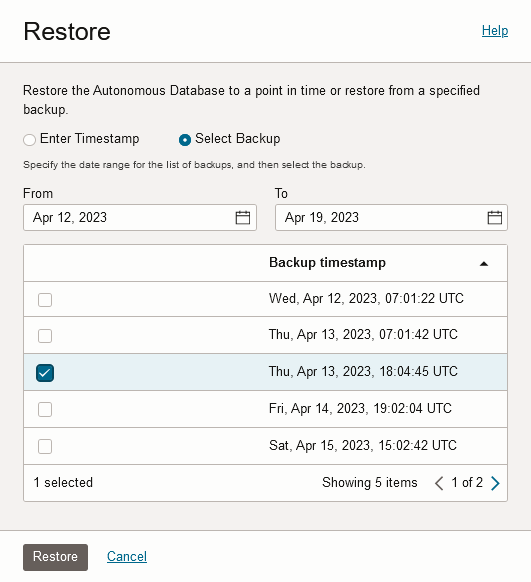
To restore and recover your database, do the following:
At this point you can connect to your Autonomous AI Database instance and check your data to validate that the restore point you specified was correct. After checking your data if you find that the restore date you specified was not the one you needed, you can initiate another restore operation to another point in time.
-
The restore operation also restores the
DATA_PUMP_DIRdirectory and user defined directories to the timestamp you specified for the restore; files that were created after that timestamp would be lost. -
When you restore, the Oracle Machine Learning workspaces, projects, and notebooks are not restored.
-
For external tables, partitioned external tables, and the external partitions of hybrid partitioned tables a backup does not include the external files that reside on your Object Store. Thus, for operations where you use a backup to restore your database, such as Restore or Clone from a backup it is your responsibility to backup, and restore if necessary, the external files associated with external tables, external partitioned tables, or the external files for a hybrid partitioned table.
See Clone an Autonomous AI Database from a Backup for information on using Clone from a backup.
Parent topic: Backup and Restore Autonomous AI Database Instances

