Running an Application with the Code Editor
In the Console, you can use the Code Editor to run a Data Flow Application.
You must have created the
configfor user authentication as described in Using the Code Editor.-
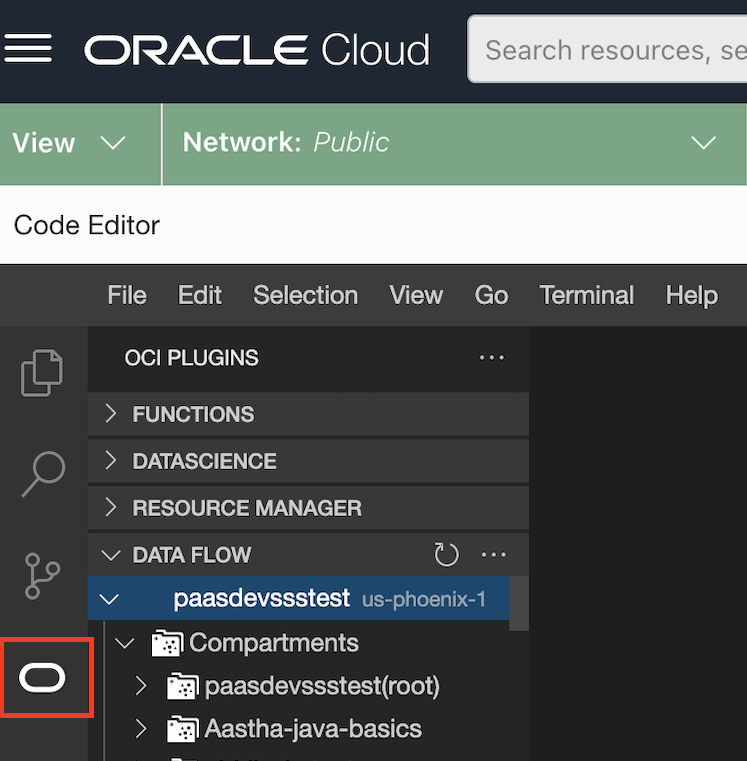
Select the O Oracle logo.
A list of available plug-ins is displayed.
-
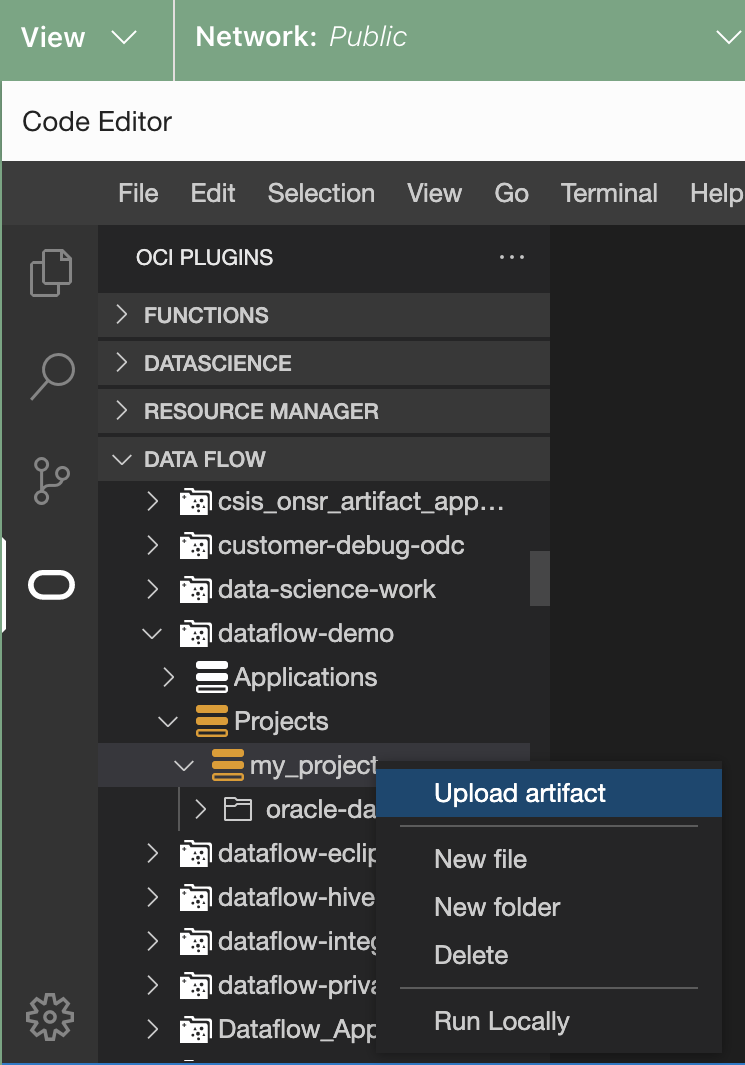
Right-click the project you want to run, and select Run
Locally.
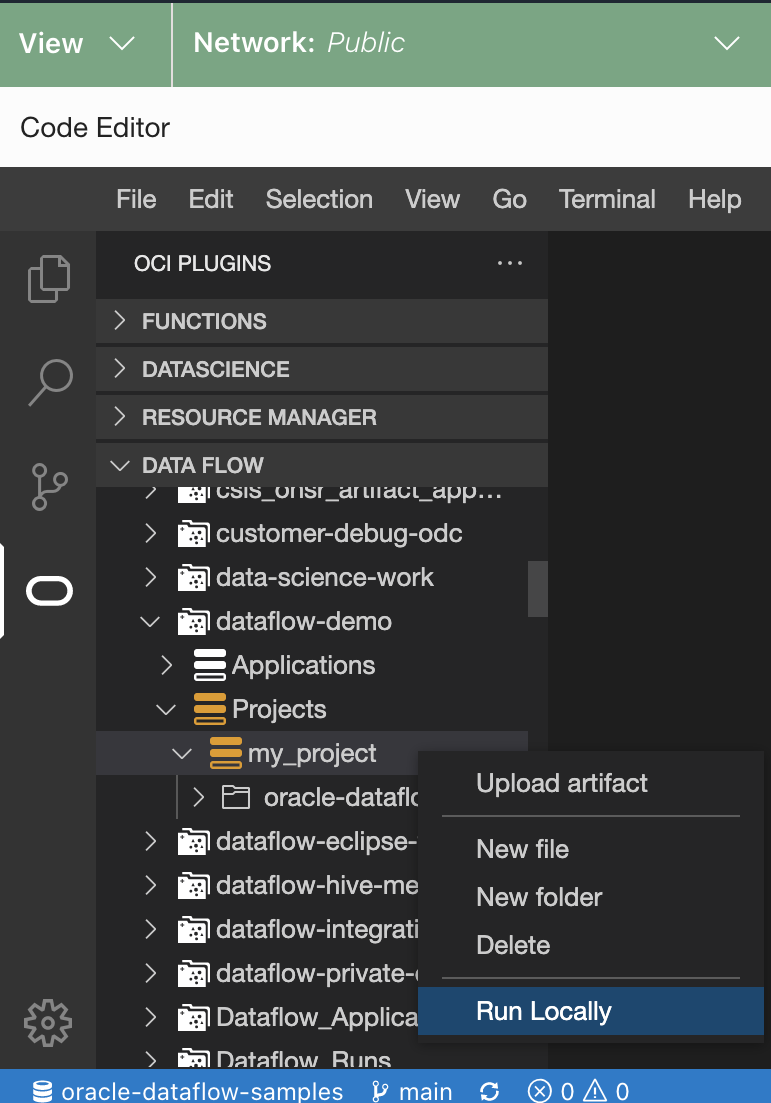 The Run Application window opens.
 -
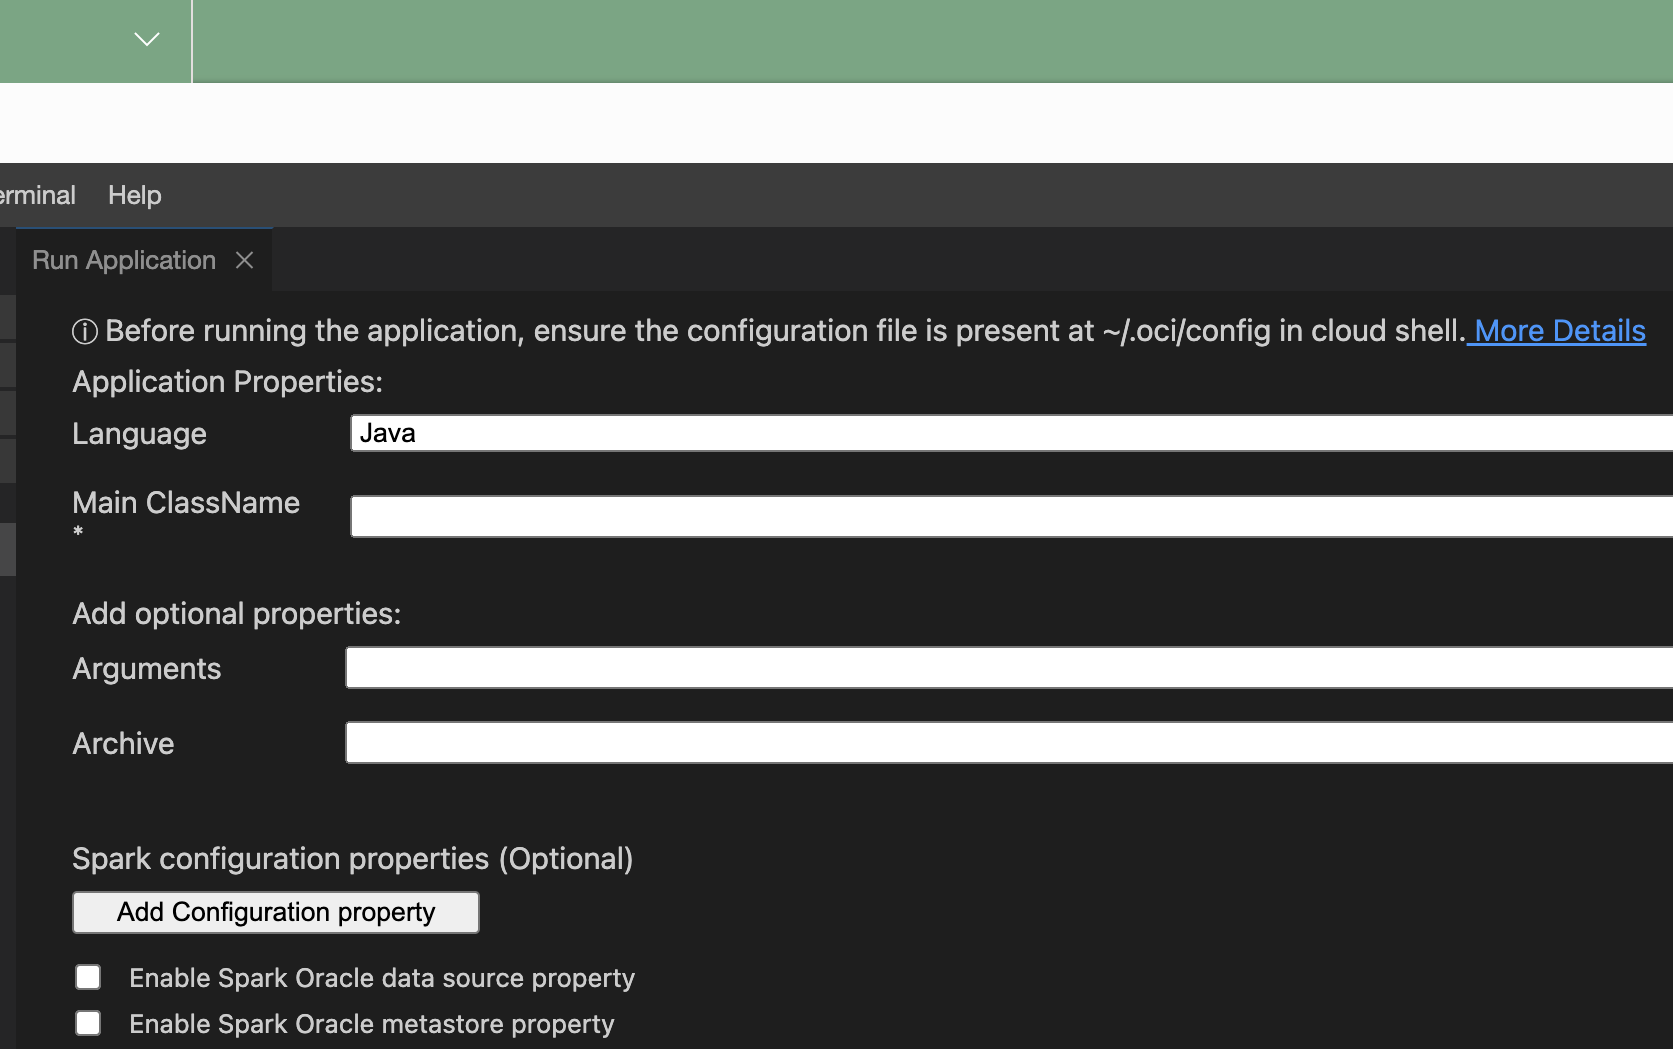
Provide the following Application properties:
- Language - one of Java, Python, or Scala.
- Main ClassName - the main class name run in the project. For Python this is Main File Name.
- Arguments - the command line arguments expected by the Spark application.
- conf - any extra configuration for the application to run.
- jars - the third-party JAR file required by the application.
- Check Enable Spark Oracle data source property to use Spark Oracle datasource.
- Check Enable Spark Oracle metastore property to use a metastore.
- Select a Compartment.
- Select a Metasore.

- (Optional)
Check the status of the application from the notification tray. Selecting the
Notifications tray gives more detailed status
information.

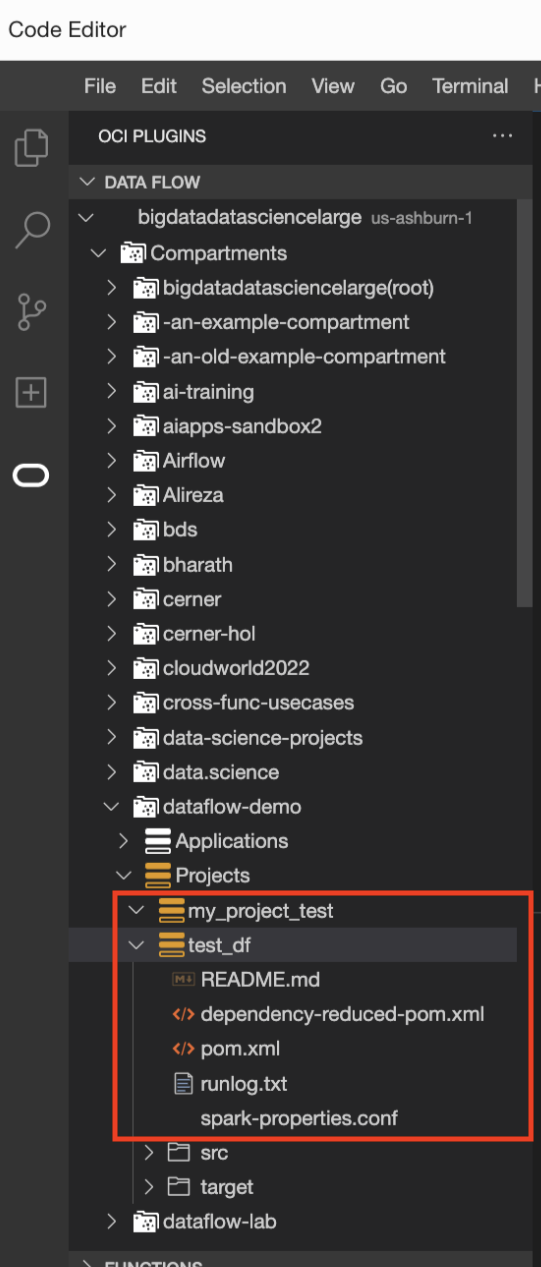
- (Optional)
Select runlog.txt to check the log files.
- (Optional)
Upload the artifact to Data Flow.
- Right-click the project in question.
- Select Upload artifact.
- Select the language.
- Enter the Object Storage namespace.
- Enter the Bucket name.
-
Select the O Oracle logo.
This task can't be performed using the CLI.
This task can't be performed using the API.