Manage Master Encryption Keys in Azure Key Vault
Autonomous AI Database supports customer-managed Transparent Data Encryption (TDE) keys that reside in Azure Key Vault.
- Prerequisites to Use Customer-Managed Encryption Keys in Azure Key Vault
Describes prerequisite steps to use customer-managed master encryption keys on Autonomous AI Database that reside in Azure Key Vault. - Use Customer-Managed Encryption Keys on Autonomous Database with Azure Key Vault
Shows the steps to encrypt your Autonomous AI Database using customer-managed master encryption keys that reside in Azure Key Vault.
Parent topic: Manage Encryption Keys on Autonomous AI Database
Prerequisites to Use Customer-Managed Encryption Keys in Azure Key Vault
Describes prerequisite steps to use customer-managed master encryption keys on Autonomous AI Database that reside in Azure Key Vault.
- Azure Key Vault is only supported in commercial regions.
- Azure Key Vault is not supported in cross-region Autonomous Data Guard standbys.
-
Supported key shapes and sizes are the following:
- RSA 2048, 3072, and 4096
- EC-P256, EC-P256K, EC-P384, EC-P521
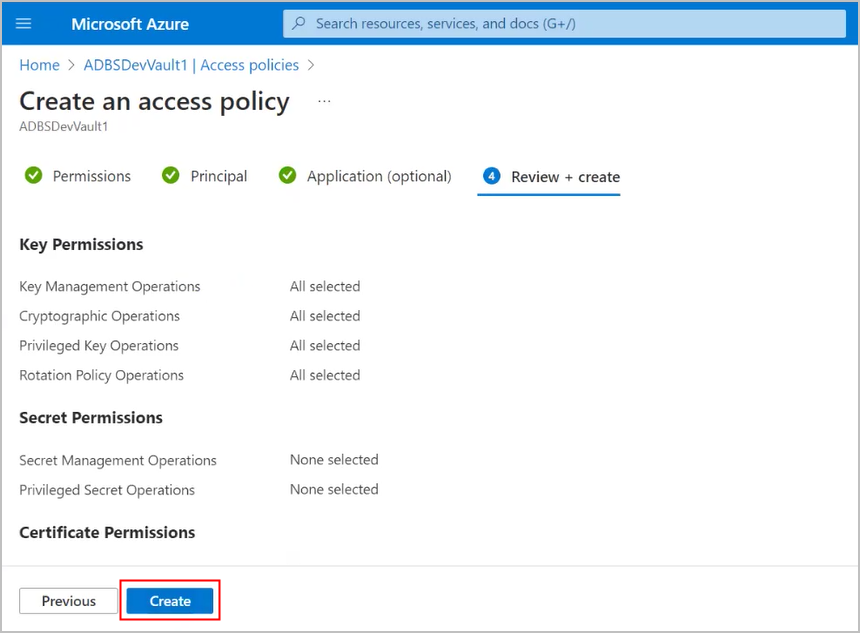
Follow these steps:
Parent topic: Manage Master Encryption Keys in Azure Key Vault
Use Customer-Managed Encryption Keys on Autonomous Database with Azure Key Vault
Shows the steps to encrypt your Autonomous AI Database using customer-managed master encryption keys that reside in Azure Key Vault.
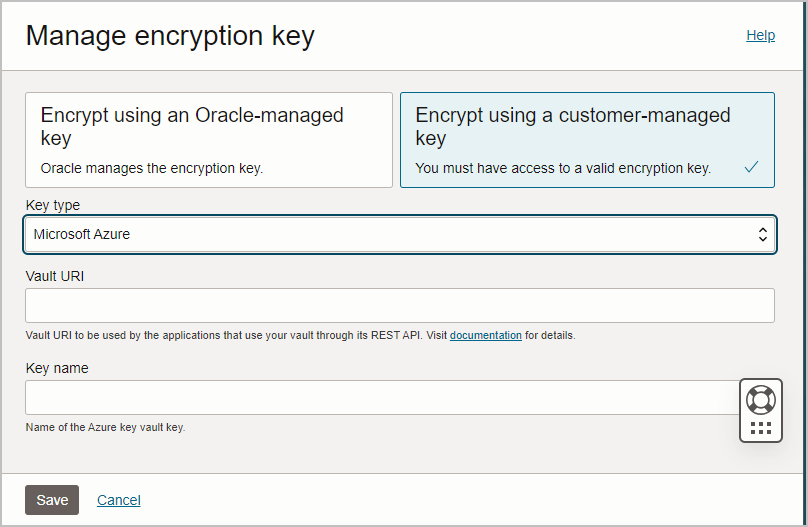
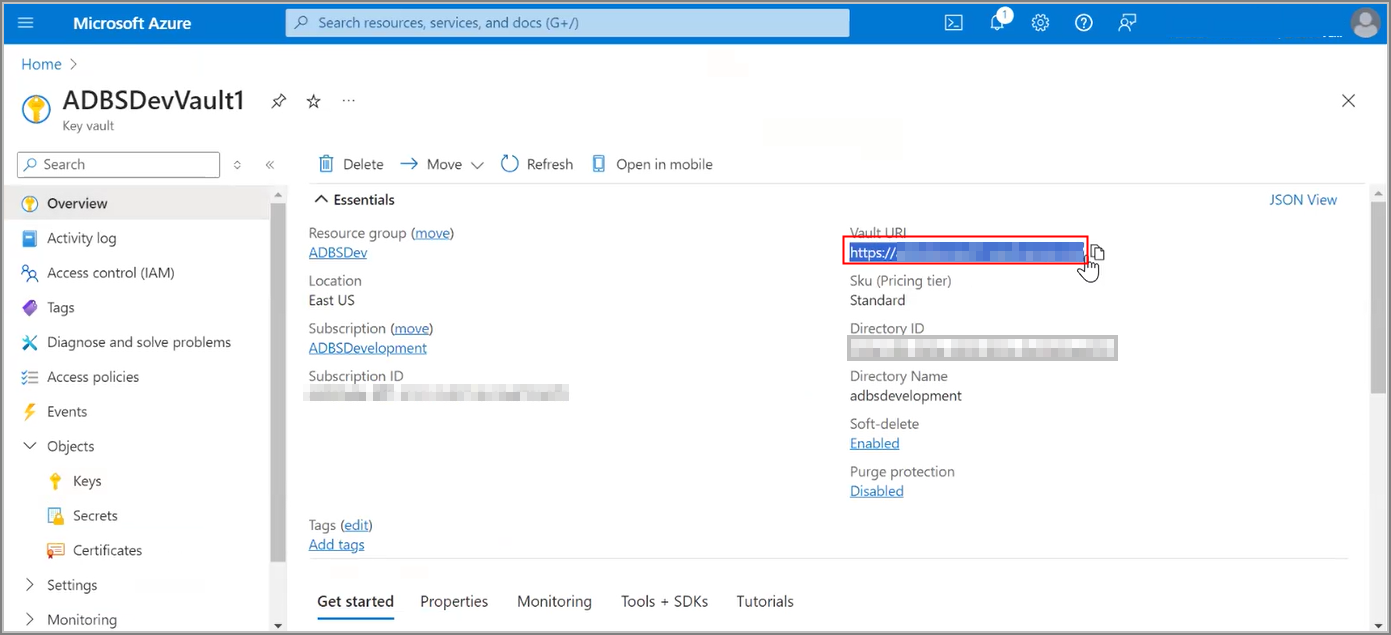
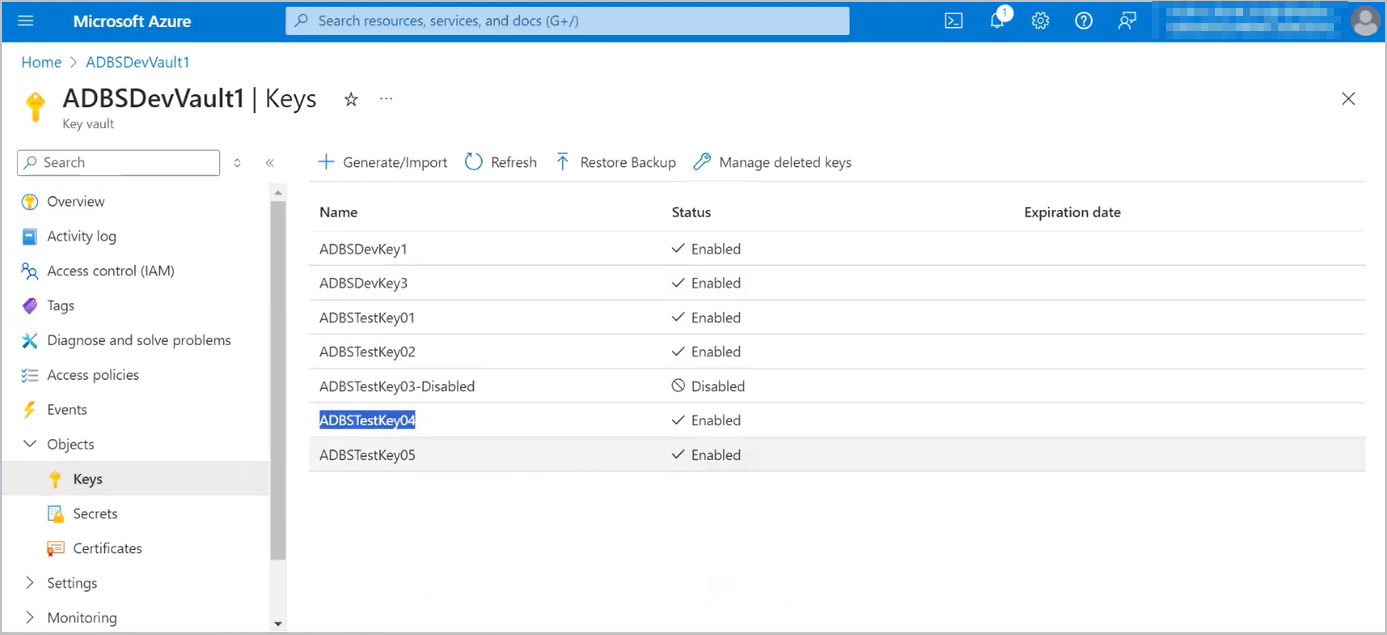
Follow these steps:
The Lifecycle state changes to Updating. When the request completes, the Lifecycle state shows Available.
After the request completes, on the Oracle Cloud Infrastructure Console, the key information shows on the Autonomous Database Information page under the heading Encryption. This area shows the Encryption Key is Customer-managed key (Microsoft Azure), and displays the Vault URI and Key name.
For example:
Description of the illustration sec_az_results.png
See Notes for Using Customer-Managed Keys with Autonomous AI Database for more information.
Parent topic: Manage Master Encryption Keys in Azure Key Vault
